Your Cart is Empty

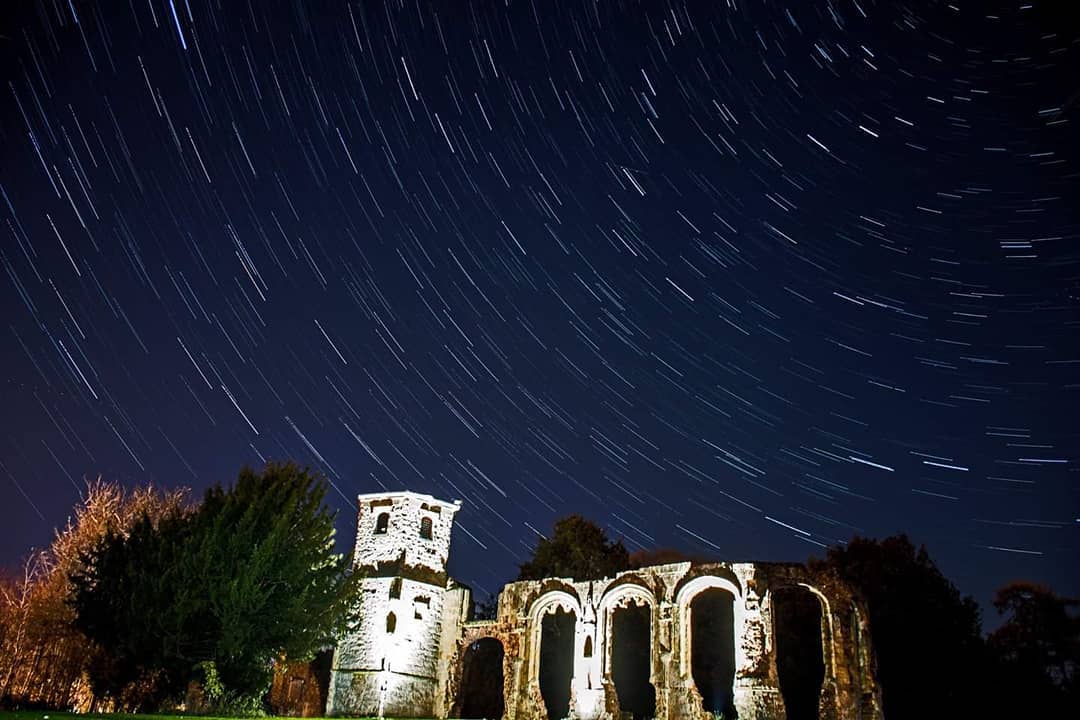
Have you ever seen those pictures of stars shooting across the sky in big arcs? Or the whole sky spinning? What you see is a star trail. In fact, what is being recorded is the rotation of stationary stars and the earth as it rotates.
You must want to capture that perfect moment as a professional photographer does. To catch the trail, however, you need to spend one hour or more. For these fantastic images, the technique used to capture them is simple. Read the following instructions from beginning to end.

Equipment You Should Prepare
Check the list below to make sure you have all the equipment you need before you refuel your car and head out into the night.
Pluto trigger is a camera remote trigger that uses Bluetooth (low power) technology that can be controlled through a dedicated application. This application is compatible with Android OS and iOS, so you can use it in most situations.
Best Conditions for Star Trail Photography
It would help if you had a clear night sky without any clouds and without a lot of light pollution to take the highest quality star trails. Even with a full moon, stars can be seen in the sky. But the closer to the full moon, the fewer stars there are. When it's a new moon, you'll see more of the little stars, and as long as you have the right equipment, you can photograph them. Still, stay away if the moon is in the sky when taking pictures of the star trail. Otherwise, you'll have a huge, exaggerated blob in your frame that is likely to ruin your composition.

Settings
There are two popular ways for celebrity photographers to shoot:
Use a very long exposure or take many short exposures and stack the images in a way.
The second method is described below.
First you need to connect your camera trigger to your camera and then start setting.
Camera Settings:
1.Put your camera on the bulb model.
2.Set the aperture to the widest, ISO around 320 to 640, with a shutter speed of 20 seconds.
3.Be sure to turn off the noise reduction inside the camera, as it takes an extra 30 seconds to reduce the noise after exposure and will eventually leave a small gap in the path
4.Take a test shot, and depending on how the stars are recorded in the image, you may need to increase the ISO and/or shutter speed. Do not increase the ISO above 3200 because image quality will begin to degrade.
Pluto App Settings:
1.Set the exposure time to 20 seconds and take 200 shots.
2.Set the interval/gap to 1 second or 0 second(actually 100 milliseconds).
After that, you can take 200 or even 300 photos to get a fantastic star trail. Make sure there is no delay (less than a second) between shots, as this can cause the tracks to break rather than smooth.

Photos Stacking
Once the image is completed, using your favorite application to make some necessary adjustments to the images and stack the images. There are many different post-processing applications such as Image Stacker, DeepSkyStacker, Photoshop, and StarStax - these will automatically put all the images together and produce fantastic star trails.